

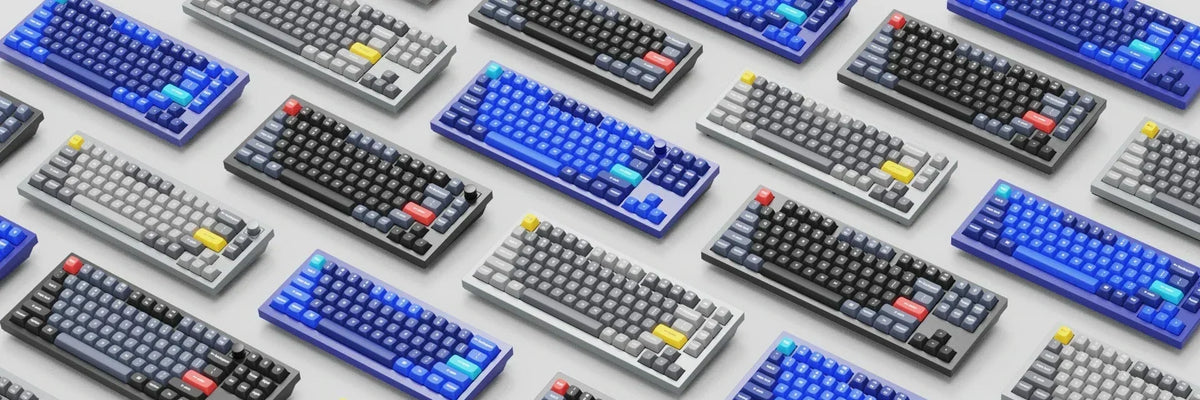
Custom keyboards from A to Z
You’re getting into mechanical keyboards and suddenly it turns out that a simple “which model should I choose?” becomes a conversation about gasket mounts, hot-swap, PCB, PBT keycaps, south-facing RGB and QMK/VIA.
Sounds like a separate language? A little.
Fortunately, you don’t need to immediately know the difference between tray mount and top mount, or wonder whether you need 3-pin or 5-pin switches. We have prepared a glossary of the most important terms from the world of custom keyboards to help you grasp the basics and read keyboard, switches and Keycaps set specifications more easily.
What is a custom keyboard?
The term custom keyboard, or custom keyboard, does not refer to one specific type of device. In practice, it means a keyboard that can be more extensively tailored to your own needs - in terms of switches, Keycaps, key layout, software, construction or sound.
Prebuilt / Fully Assembled
This is a ready-to-use, assembled keyboard that you can take out of the box, plug in and use right away.
However, in the case of models designed for customization, a ready-made build does not have to mean the end of the fun. The keyboard may feature hot-swap, replaceable Keycaps or programmable keys.
It is a good starting point if you want to enter the world of customs without building everything from scratch.

Barebone
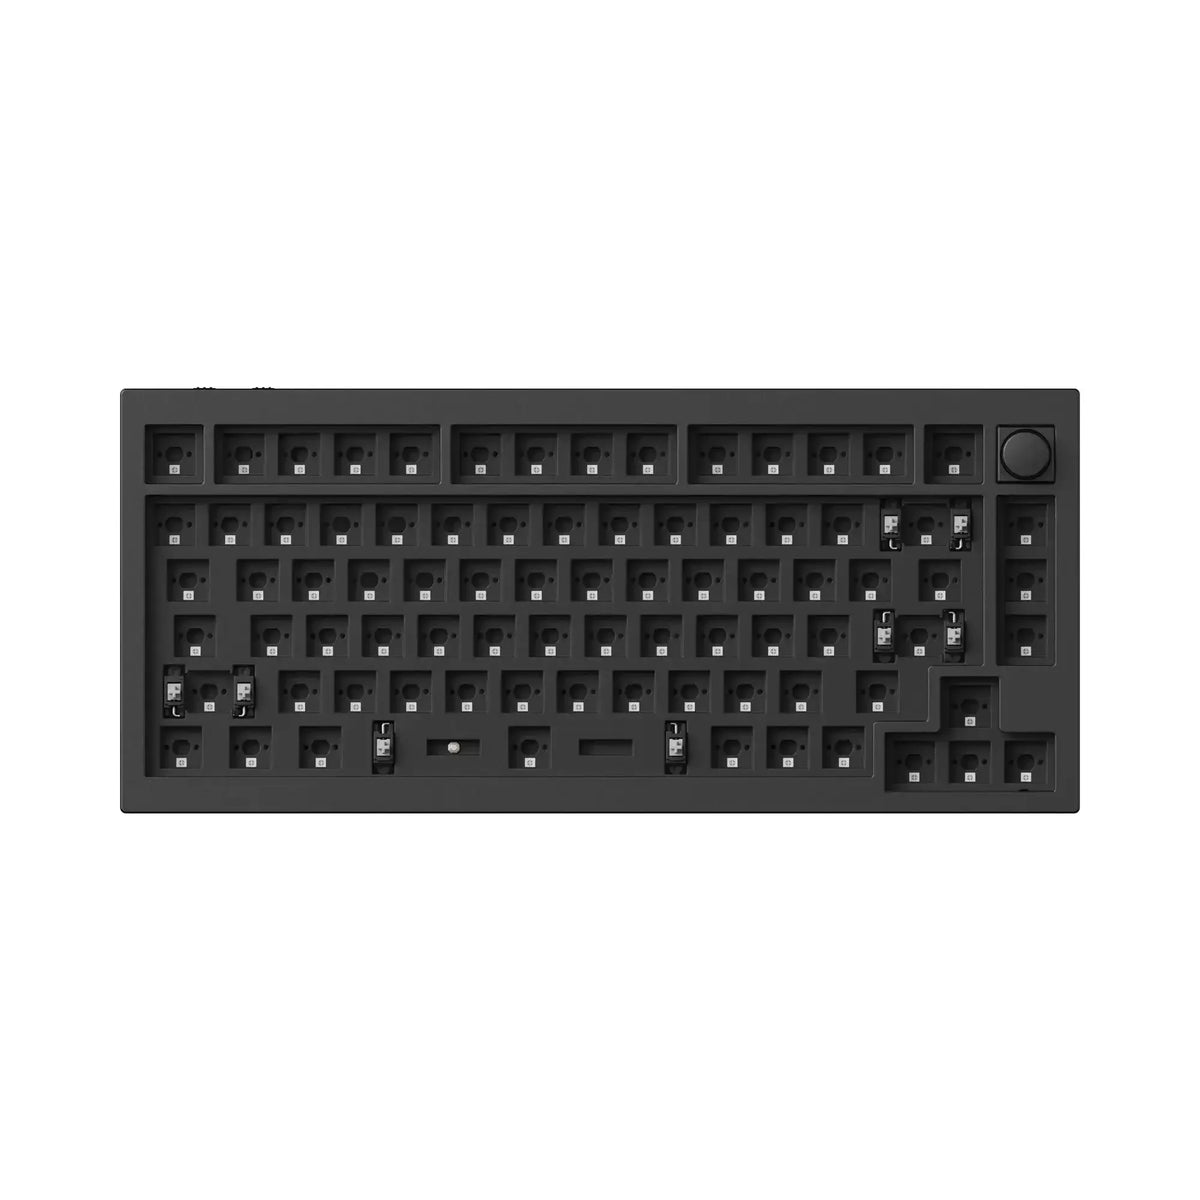
A barebone is a keyboard base usually sold without switches and Keycaps. You therefore get most of the build, but need to choose your own switches and keycaps.
The exact contents of the set depend on the manufacturer, so it is worth checking the specifications before buying. Keychron also distinguishes ready-made sets from barebones, which usually require purchasing switches and Keycaps separately.
A barebone is an interesting compromise: you do not design the entire keyboard from scratch, but you can still strongly influence its character from the very beginning.
DIY kit / custom build
This is where we go deeper. In DIY sets, some components may require self-assembly, while more advanced projects allow you to separately choose the case, PCB, plate, stabilizers, switches and Keycaps, among other things.
The difficulty level can vary greatly. One kit can be assembled in a dozen or so minutes without a soldering iron, while another can turn a Saturday afternoon into a full-fledged technical project.

What does a custom keyboard consist of?
Before moving on to more exotic terms, it is worth getting to know the basic components of the build.

Case - housing
A case is simply the keyboard housing. It can be made of plastic, aluminum or other materials.
The housing affects not only the keyboard’s appearance and weight. Its construction, material and amount of empty space inside can also change the acoustics of the entire setup.
PCB
A PCB (printed circuit board) is the heart and brain of the keyboard. It receives the signal from the switches and sends it to the computer. It is also responsible for RGB lighting, the key layout and software compatibility.
In short: without it, even the most expensive aluminum case would only be a nice paperweight.


Plate
A plate is the board in which the switches are mounted. It is most often located above the PCB.
It can be made from various materials, such as aluminum, steel, polycarbonate or composite materials. The material and construction of the plate can affect rigidity, typing feel and keyboard sound.
This does not mean, however, that one material is always “the best.” With customs, you quickly discover that “the best” usually simply means “the one that suits you best.”
Stabilizers
Stabilizers, often simply called “stabs,” are responsible for the proper operation of larger keys, such as the spacebar, Enter, Backspace or Shift.
Without them, pressing one end of a long key could cause the keycap to tilt heavily instead of allowing the entire key to move smoothly.
Well-tuned stabilizers are also very important for keyboard sound. It is often around the spacebar or Enter key that the annoying rattling known as rattle originates.


Keycap
A keycap is the cap you actually press when using a keyboard.
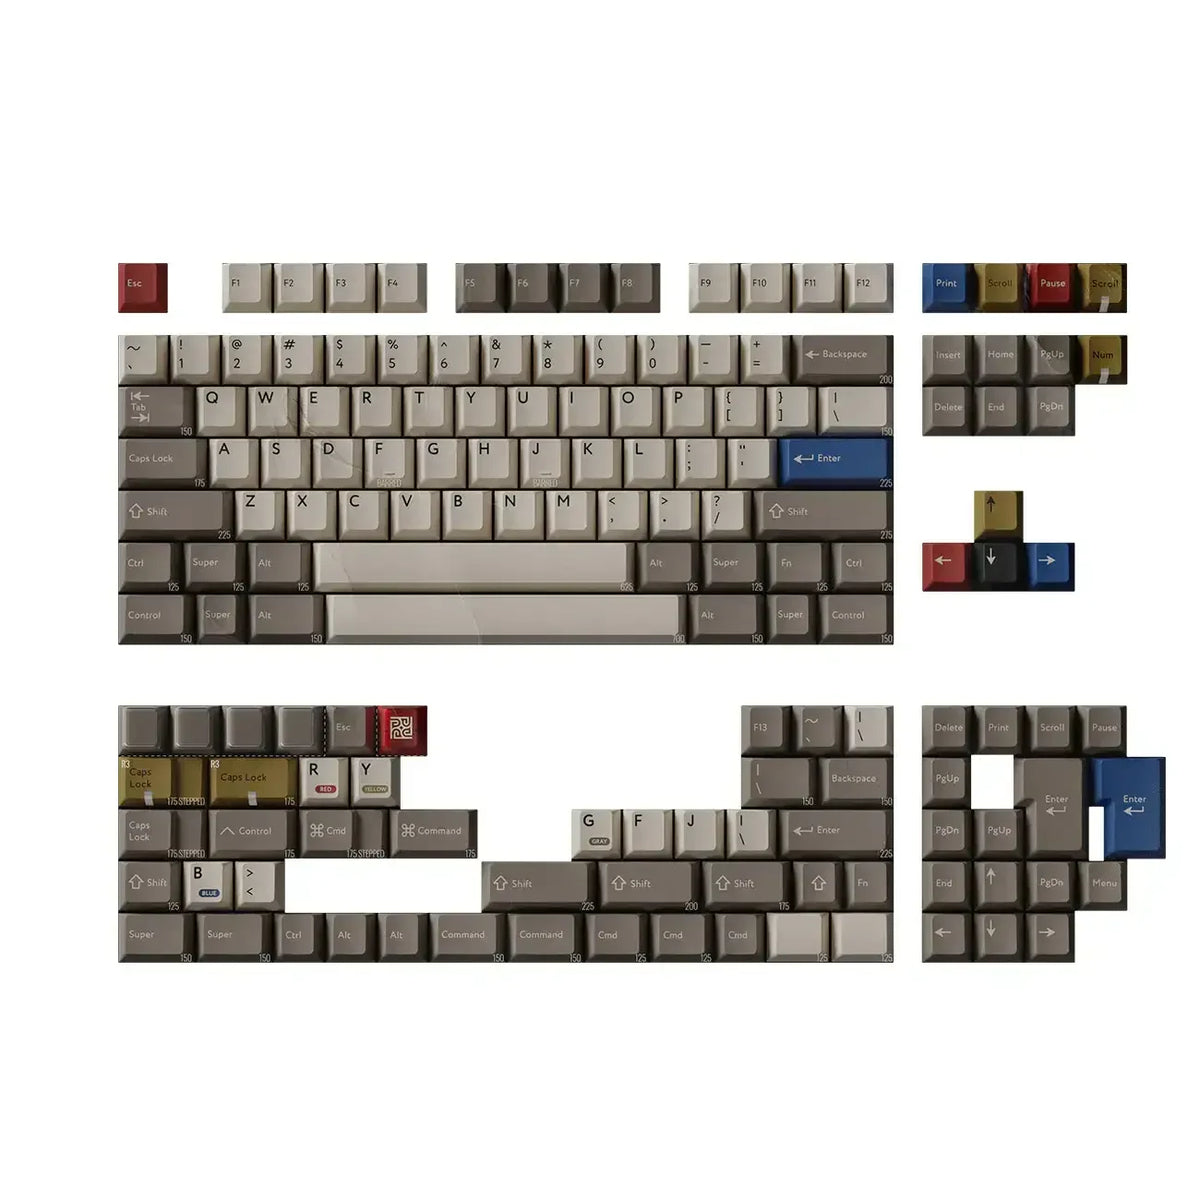
Keycaps differ in material, height, profile, legend manufacturing method and compatibility with specific layouts. They can also dramatically change the look of the entire keyboard - sometimes more than the case itself.
How does keyboard size differ from its layout?

One of the more common sources of confusion is grouping labels such as 75%, TKL, ANSI and ISO together.
They do not describe exactly the same thing.
100%, 96%, TKL, 75%, 65% and 60%
These terms primarily refer to the size and set of available keys.
A 100% keyboard includes, among other things, a numpad; TKL removes the numpad; 75% makes the build even more compact; while 65% and 60% variants give up further dedicated keys in favor of a more compact size.
ANSI and ISO

ANSI and ISO describe the physical key layout.
One of the most visible differences is the Enter key. In the popular ANSI layout, it is wide and horizontal, while in many ISO versions it has a distinctive tall shape.
This is especially important when buying Keycaps. A set designed only for ANSI may not include the keycaps needed to build a particular ISO layout.
That is why, before buying a Keycaps set, it is not enough to check whether you like the color.
Mechanical switches - basic terms
The topic of switches can be complicated, but you do not need to know everything right away. To start with, however, it is worth knowing a few basics.

Linear
A linear switch is a switch that operates perfectly smoothly. The key travels down smoothly without any bump. Loved by gamers and people looking for maximum typing smoothness.
Tactile
A tactile switch has a noticeable “bump” (resistance) at the point of actuation. This means that you immediately feel under your finger that the key has activated - without needing to press it all the way down.


Clicky
Clicky switches provide noticeable resistance under your finger and a loud, crisp click with every press.
A small warning: in an office full of people, it is worth consulting this choice with the team first.
If you want to explore the differences between the basic types of switches in more detail, check out our guide “Types of switches - which ones should you choose?”.
Silent
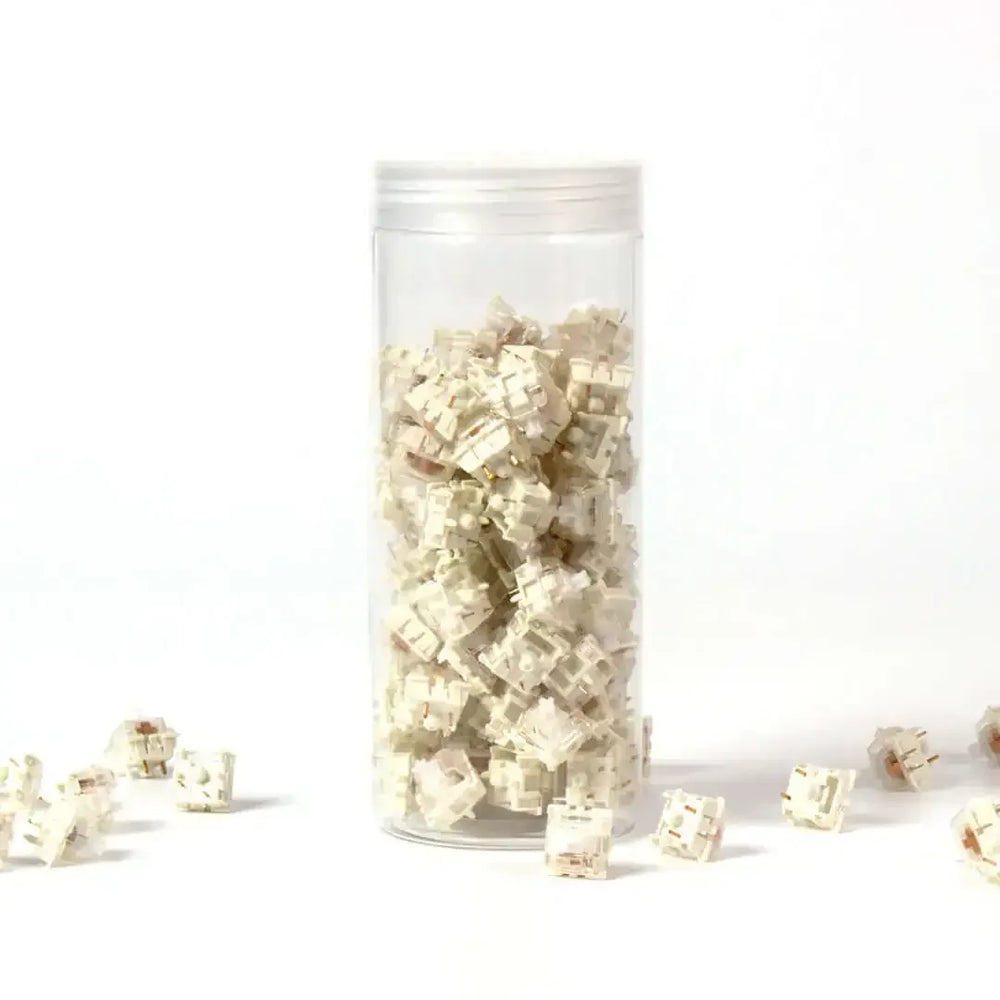
Silent is not a separate type of switch, but its “silenced” version. Switches of this type have special dampeners inside that reduce the sound of a key press. That is why you will find, for example, silent linear (quiet and smooth) or silent tactile (quiet with a noticeable bump) switches in stores.
Keep in mind, however, that “Silent” does not mean complete silence.

Actuation force
Actuation force is the force you need to apply to press a key for it to activate.
It is given in grams (gf) or centinewtons (cN). The lower the number, the lighter the key is to press; the higher it is, the more resistance it offers.
Remember, however: a lighter switch does not automatically mean a better or faster one - it is purely a matter of taste.
Actuation point / pre-travel
The actuation point (activation point) is the exact moment during a key press when the computer registers the click.
Pre-travel is the distance the key must travel before reaching that point.
It is worth remembering: this is not the same as total key travel (the key does not need to reach the very bottom for the movement to be registered).


Total travel
Total travel specifies the full distance a switch can travel from its resting position to the end of its stroke.
This value can affect typing feel, but the number itself does not yet tell you whether a particular switch will suit you.
3-pin and 5-pin - what does it mean?
In classic MX-style mechanical switches, you may encounter designs described as 3-pin and 5-pin.
Simply put, the 5-pin version has two additional plastic legs (pins) that help securely seat the switch on the PCB. Importantly, these are not additional electrical contacts, but only stabilizing components.
Most modern hot-swap keyboards accommodate both types, but it is worth checking this before buying. The word “hot-swap” in the description alone does not guarantee full compatibility with every switch!

Hot-swap - what does it actually mean?

Hot-swap allows you to replace switches without using a soldering iron. Simply remove the keycap, pull out the old switch with a dedicated tool (a switch puller), press in the new one, and you are done!
This feature has made entering the world of customs much easier - you can change switches whenever you want, without any technical skills.
However, there is one very important “but.”
Hot-swap does not mean “every switch fits”
Not every hot-swap is compatible with everything. Standard switches (MX-style), low-profile switches, optical switches and magnetic switches have completely different designs.
The fact that a keyboard has hot-swap does not guarantee that you can install any switch in it.
Before buying, always make sure what type of switches your board (PCB) requires. Five seconds spent reading the specifications will save you disappointment later.
Changing Keycaps is one of the easiest ways to dramatically change the appearance of a keyboard. But here, too, several terms quickly appear.

ABS
ABS is a popular plastic used to manufacture Keycaps.
Good ABS Keycaps can be of very high quality. Over time, however, their surface may become noticeably smoother and develop a shine in areas most frequently touched by fingers.
It is therefore not worth reducing the topic to “ABS = bad, PBT = good.” Manufacturing quality is more important than the material name itself.
PBT
PBT is another very popular material. It is more matte and slightly rough to the touch. Its greatest advantage is durability - it does not become “shiny” from finger wear even after many months of intensive typing.
Here, too, much depends on the specific set, wall thickness and manufacturing method.


Double-shot
In double-shot Keycaps, the legend is not simply printed on the surface.
The keycap is made using two parts or layers of material, making the marking an integral part of the keycap’s construction. A properly made legend therefore does not wear away like a standard surface print.
Dye-sub
Dye-sublimation, or dye-sub for short, is a technique for applying a legend by introducing dye into the keycap material using heat.
This technology is particularly popular in PBT sets.
Both double-shot and dye-sub are widely used methods for making legends on Keycaps.


Shine-through
Shine-through refers to Keycaps designed so that backlight can pass through the legends.
If clearly visible illuminated legends in a dark room matter to you, this is a parameter worth paying attention to.
Not every attractive PBT or custom Keycaps set lets light pass through the legends.
Keycap profile
The profile determines the height and shape of the keycaps and how they change between rows.
You may encounter profiles such as Cherry, OEM, KSA or OSA.
The differences are not merely cosmetic. The profile affects finger position and the overall typing feel.
There is no universal winner here - some prefer the low Cherry profile, while others prefer taller and more sculpted Keycaps.

What do 1u, 1.25u or 6.25u mean?

The letter u refers to the unit of key width.
A standard letter key is usually 1u wide. Other keys occupy multiples of this value.
That is why, in descriptions of Keycaps sets, you may find, for example, a 1.75u Shift or a 6.25u spacebar.
This is hugely important for less standard layouts. Two sets may look almost identical, but only one will have the right key sizes for your keyboard.
North-facing and south-facing - where is the backlighting directed?
The terms north-facing and south-facing indicate which side of the switch the backlighting is located on.
-
North-facing: the LED shines from the top (farther away from you).
-
South-facing: the LED shines from the bottom (closer to you).
Why would anyone care?
First, a north-facing layout provides more attractive illumination through transparent legends (shine-through).
Second, with top-mounted LEDs, some low keycaps (Cherry profile) may strike the switch housing. Typing then becomes louder and less smooth.
Important: this does not mean that every Cherry keycap will work poorly on every north-facing keyboard. It depends on the specific switch and keycap design, so with such a setup it is best to check the manufacturer’s compatibility information.
Mounting style - how is the keyboard interior mounted in the case?

Mounting style describes how the internal keyboard assembly is attached.
It can affect rigidity, flex during typing, vibration distribution and sound characteristics.
Gasket mount
Gasket mount is a popular way of mounting the keyboard’s internal assembly. The switch plate is not rigidly screwed to the case - instead, it “floats” on flexible gaskets. This makes typing softer, more springy and more comfortable for your fingers, while the sound becomes deeper and less noisy.
However, the phrase “gasket mount” alone does not automatically mean that a keyboard is high-end. The overall quality of the build matters, not the label on the box.
Tray mount
Tray mount is the simplest and most traditional mounting method. The internal board (PCB or plate) is screwed directly to the bottom of the case.
Such a construction is more rigid and firmer to the touch, while the clicks may sound somewhat different depending on where the screws are located.
Top mount
Top mount is a solution in which the switch plate is screwed from below to the upper part of the case. It is often used in higher-end keyboards. It provides a very consistent, stable feel under your fingers and a clean sound, although the exact result always depends on the materials and design used.
Most importantly? Do not buy a keyboard solely because the manufacturer wrote “gasket.”
QMK and VIA - customization does not end with Keycaps

Customization can take place not only physically.
Many keyboards also allow you to change how individual keys work, create layers or build macros.
This is where two abbreviations often appear: QMK and VIA.
Firmware
Firmware is software that runs directly on a device and controls its behavior.
In the case of a keyboard, it determines, among other things, how key presses are interpreted and which additional features are available.
QMK
QMK Firmware is open-source software (known as firmware) that lets you reprogram a keyboard according to your own needs. With it, you can change the assignment of every key, create overlapping layers (like the Fn key on a laptop), write complex macros or set unique shortcuts.
Officially, your key layout (keymap) is simply a set of such layers that tell the computer what should happen when a specific button is pressed.
VIA
VIA is a tool used to configure compatible keyboards more conveniently, without having to manually edit code for every simple change.
In practice, on a compatible model, you can more easily change key assignments, layers or macros.
It is worth remembering that QMK and VIA are not synonyms. Using QMK alone does not necessarily mean that VIA is available on a particular model.
Remapping
Remapping is changing the function assigned to a particular key.
Do not use Caps Lock? On a compatible keyboard, you can change it to Ctrl, a function key or something completely different.
It is one of those features that initially looks like a toy for geeks, but later you try to use your configuration on a regular keyboard and suddenly nothing is where it should be.
Layer - layer
Layers allow one physical key to perform several different functions - depending on which layer is currently active. It works exactly like the Shift key (which types capital letters) or Fn on a laptop (which changes volume or screen brightness). On custom keyboards, however, you can program your own layers completely from scratch.
This is especially important on small keyboards.
For example, a 60% keyboard may not have a dedicated F1-F12 row, but after activating the appropriate layer, these functions can be assigned to the number keys.
QMK allows you to overlay layers on the base layout and switch between them in various ways.
Macro
A macro lets you assign an entire sequence of keystrokes or a complex shortcut to one single key. Instead of pressing a complicated button combination one by one (for example, for graphics editing, coding or entering a repetitive text string), you do it with one click.
Keyboard modding - terminology worth knowing

You already have a keyboard. It works. It is quite good.
And then someone says: “Have you tried a tape mod?”
Welcome to the next part of the rabbit hole.
Lubing
Lubing means lubricating switch or stabilizer components with a suitably selected lubricant.
For switches, this is done, among other things, to change the smoothness of movement and the character of the sound.
Not every switch needs additional lubrication, and using too much lubricant can impair its operation.
Stabilizer tuning
Stabilizer tuning is a general term for actions intended to improve the performance of stabilizers. It can include proper lubrication or eliminating unwanted play, among other things.
The goal is smoother movement of larger keys and reduced rattle (an annoying plastic “rattling” or knocking caused by play in the stabilizers).
Foam mod
A foam mod involves adding damping material in a specific part of the construction, for example between the PCB and the case. It can alter the resonance and sound characteristics of the keyboard.
This does not mean, however, that more foam always means better sound. Keyboard acoustics are a system of interconnected elements.
Tape mod
A tape mod involves applying a suitable layer of material to the back of the PCB in order to alter the keyboard’s acoustic characteristics.
It is popular mainly because it is a relatively simple modification, but the effect depends on the specific construction.
Before interfering with the inside of your equipment, it is always worth checking the manufacturer’s warranty terms.
Switch film
A switch film is a thin component placed between the upper and lower parts of the housing of some switches.
Its primary purpose is to reduce play between the parts of the housing (the outer plastic casing of a switch that holds all its internal components in place).
Not every switch needs filming, and in many modern designs the difference may be small or nonexistent.
Thock, clack, creamy, poppy - keyboard slang
In the world of custom keyboards, you will quickly encounter terms describing sound and feel.
Thock is intended to suggest a deeper, lower-pitched sound.
Clack usually refers to a more distinct, higher-pitched tapping sound.
Poppy often describes a springy, strongly pronounced sound.
Creamy is sometimes used to describe a smooth operating and sound character.
And here is the most important thing: these are not technical parameters.
There is no ISO standard specifying at what point a keyboard is officially “thocky.” These words are part of community slang, and different people may use them slightly differently.
Video recordings can also heavily distort the impression due to the microphone, sound settings, desk surface or post-processing.
That is why, when choosing a keyboard, it is worth treating these terms as a description of character rather than a hard specification.
How do you read a custom keyboard specification in 30 seconds?
Let’s say you come across the following description:
75%, ISO, gasket mount, hot-swap 5-pin MX, south-facing RGB, PBT double-shot, QMK/VIA.
At first glance, this string of terms can seem intimidating.
So it is time to break it down and see what it actually means. TABLE
| TERM | WHAT DOES IT MEAN? |
| 75% | A compact size retaining, among other things, the F row and arrow keys |
| ISO | A physical keyboard layout with the distinctive ISO Enter key |
| Gasket mount | A construction using flexible mounting elements |
| Hot-swap 5-pin MX | The ability to replace compatible MX mechanical switches without soldering |
| South-facing RGB | The LEDs are located on the side closer to the user |
| PBT double-shot | PBT Keycaps with legends made using the double-shot method |
| QMK/VIA | Extensive options for programming and changing key functions |
And that is exactly why it is worth knowing the basic terms.
The point is to know what you are actually paying for when making a purchase.
FAQ - Quick answers to your questions
Do you have to assemble a custom keyboard yourself?
No.
You can buy a ready-made keyboard with extensive modification options, choose a barebone and add switches and Keycaps yourself, or go much further and build your own setup from many components.
You choose the level of complexity yourself.
Does every switch fit a hot-swap keyboard?
No.
Hot-swap means you can replace compatible switches without soldering, but it does not create one universal standard for all types of switches.
Before buying, check whether the keyboard uses standard MX-style mechanical switches, a low-profile construction, optical switches, magnetic switches or another solution.
Do all Keycaps fit every keyboard?
No, they do not.
You need to pay attention primarily to the switch stem, keyboard layout, widths of individual keys and the contents of the set.
A set may be compatible with MX switches but still not include, for example, the correct Shift, Enter or spacebar required for your layout.
Is gasket mount better than tray mount?
This cannot be answered in one word.
Gasket mount can provide a more flexible feel and distribute vibrations differently, but the mounting type alone does not determine keyboard quality.
A well-designed tray mount can be more pleasant than a poorly made gasket mount.
Surprising, we know: specifications do not replace good design.
Do I need QMK and VIA?
Not everyone needs them.
If you use the factory key layout and do not want to change anything, extensive programming options may remain unused.
However, if you like your own shortcuts, macros and layers, or want to tailor the layout for work and gaming, the ability to program the keyboard quickly becomes very useful.
What is the best way to start your custom keyboard journey?

You do not have to build a keyboard from individual components right away.
To start with, a model with hot-swap is a sensible choice, allowing you to try different switches without soldering. Later, you can experiment with Keycaps, key settings and simple modifications.
The most important thing, however, is something else: do not change components just because someone on the internet said that “you have to.”
A custom keyboard should be tailored to you.
If the stock configuration sounds good, feels great to type on and lacks nothing you need, you can do the most controversial thing in the entire keyboard hobby:
leave it alone.





Share:
Which iPhone 18 Pro case to choose? A guide to case types.