


Updating Keychron device firmware using Keychron Launcher — a complete technical guide
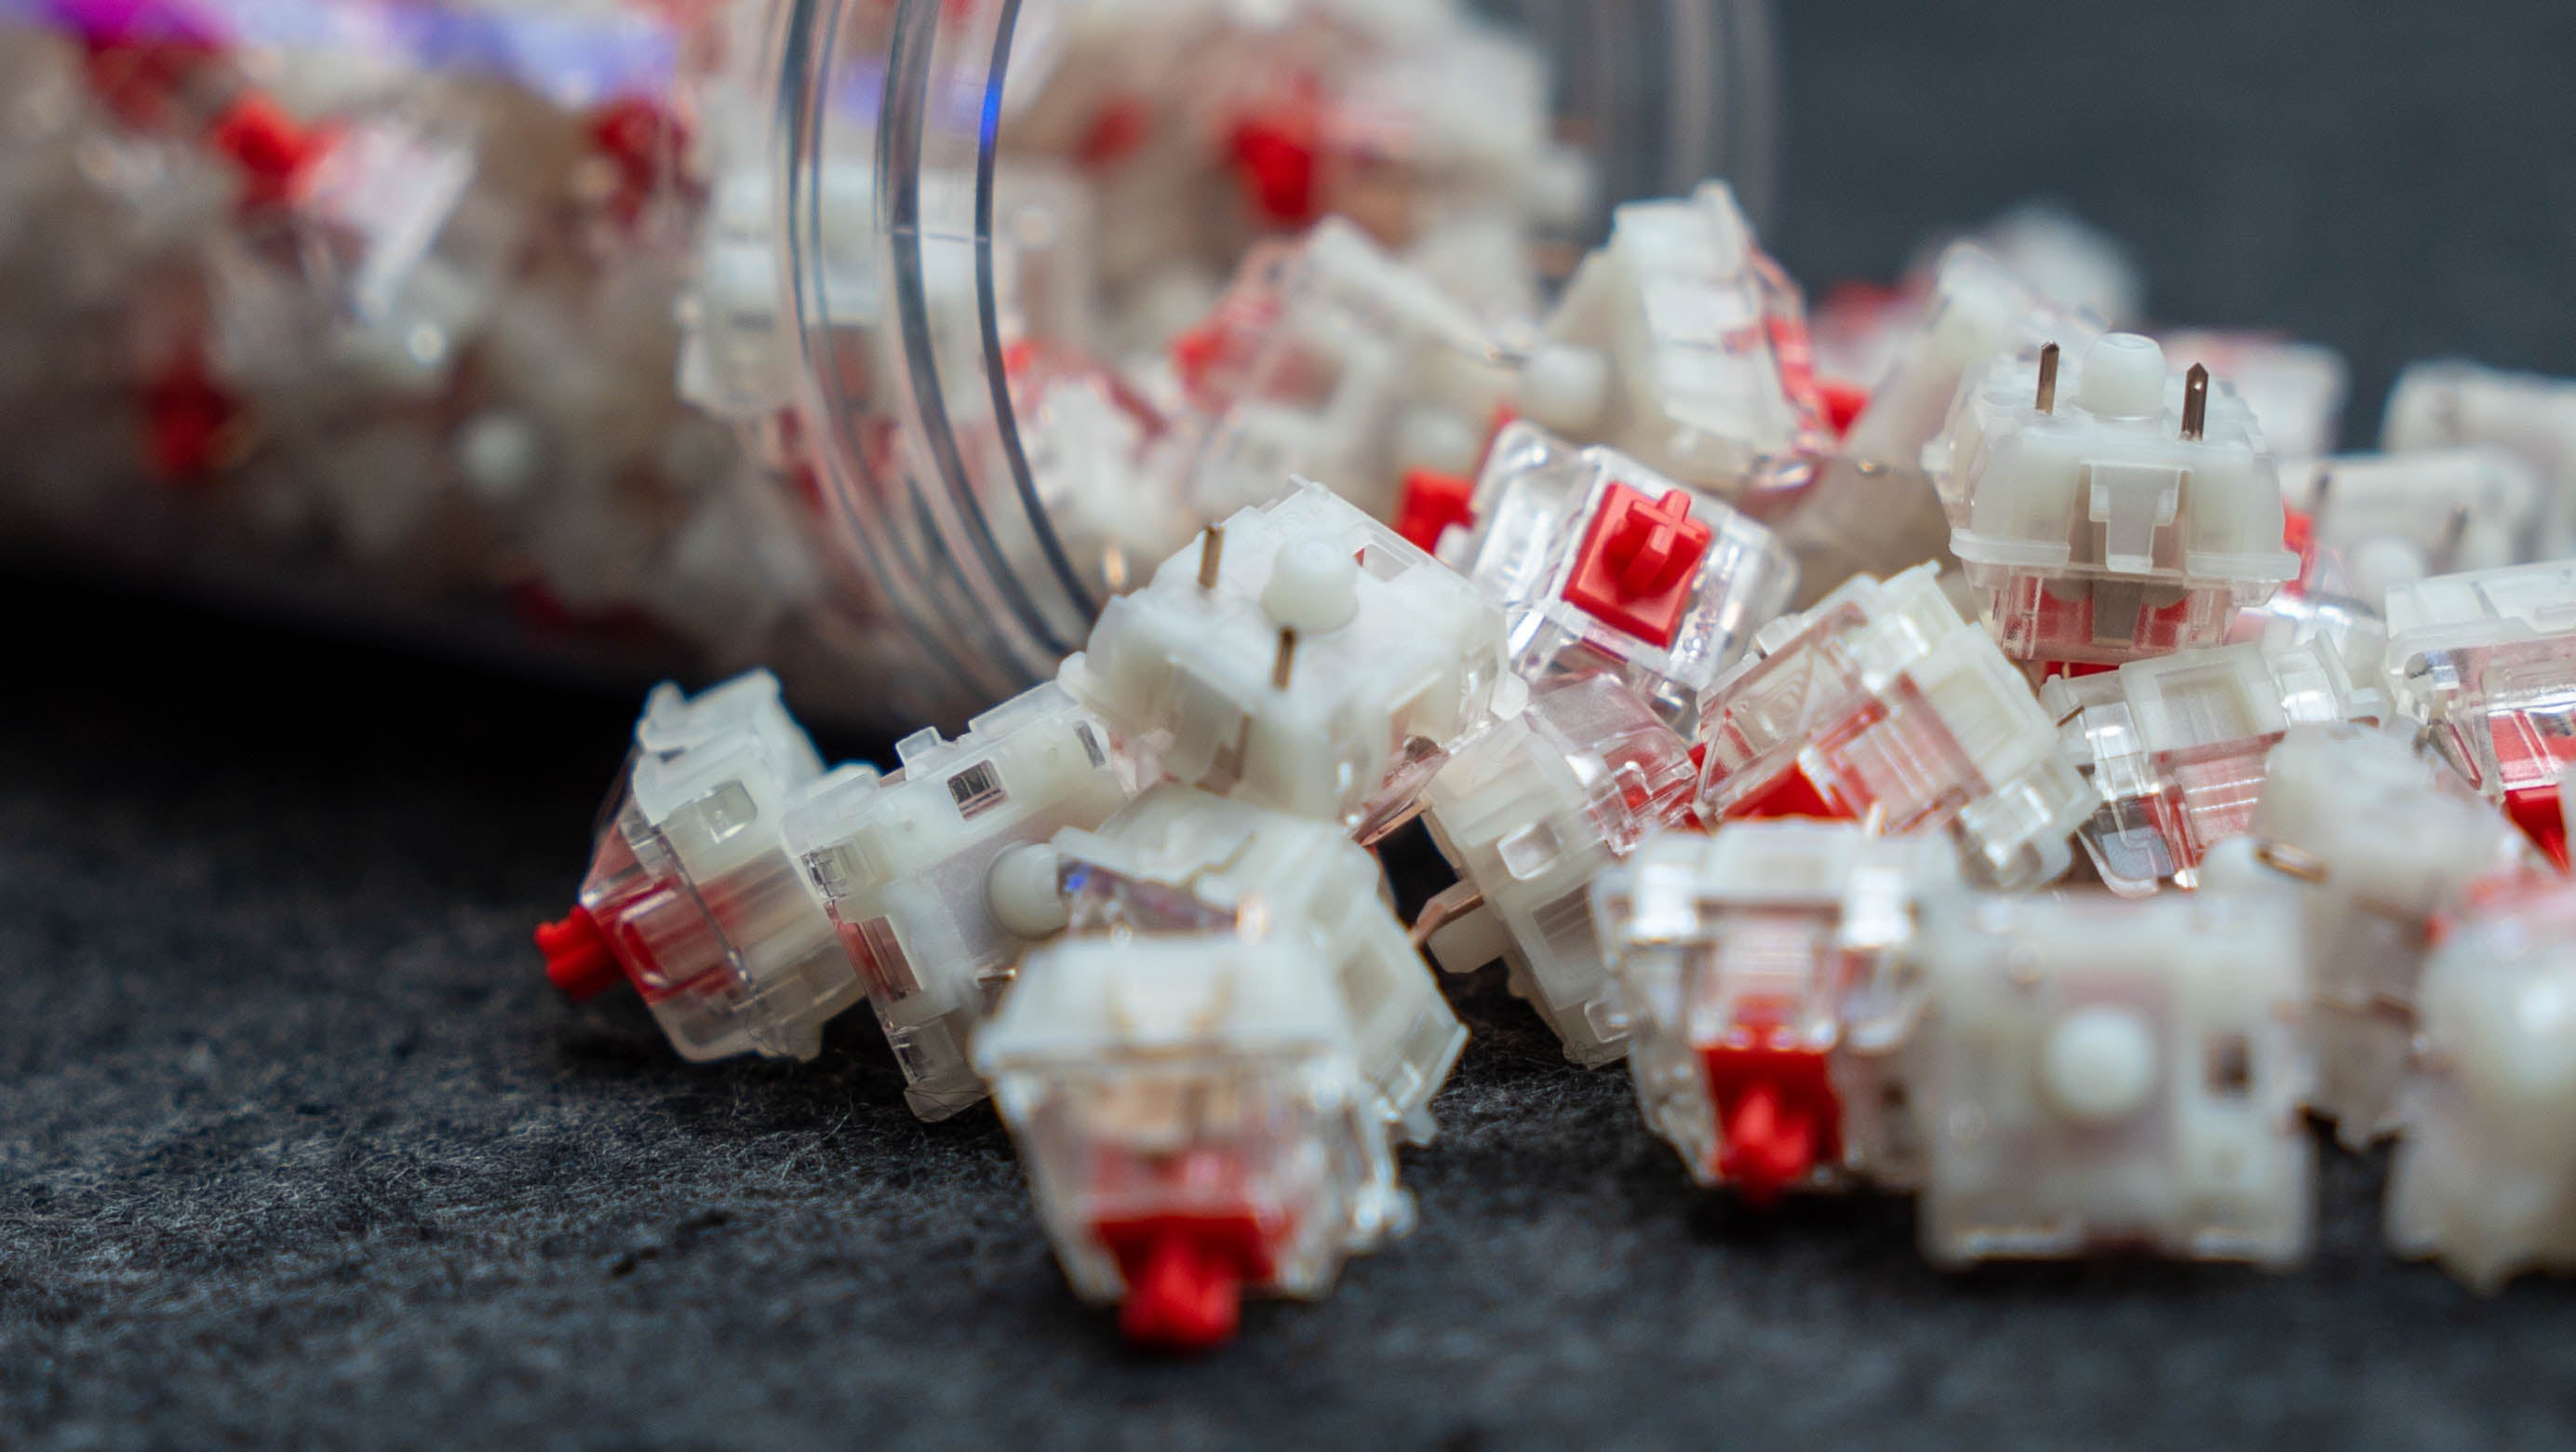
For years, Keychron has been offering mechanical keyboards that stand out for their customization options — from physically replacing switches to completely remapping keys and uploading new firmware. With the introduction of Keychron Launcher, the manufacturer has simplified the process of updating and configuring keyboards. Instead of using external tools such as QMK Toolbox or manually flashing .bin files, you can now do this directly from your browser.
This step-by-step guide shows you how to update your Keychron keyboard's firmware using Keychron Launcher, how to prepare your environment, how to avoid common mistakes, and what to do if you encounter problems.
What is Keychron Launcher?
Keychron Launcher is a web application (running via the WebHID interface) that allows you to:
- real-time key remapping,
- creating macros and layers,
- backlight effect configuration,
- firmware update for compatible Keychron models (including Q, V, K Pro, B Pro, Max).


Connection mode
The firmware update does not work in wireless mode. You must switch the keyboard to wired mode (Cable Mode):
- use the physical switch on the keyboard housing (usually marked BT / 2.4 / Cable),
- Ensure that the USB-C ↔ USB-A cable is of high quality (not a USB-C charger without data).,
- It is best to connect the keyboard directly to the motherboard's USB port, not through a USB hub..
Stable update environment
During firmware flashing, the keyboard is in bootloader mode—i.e., directly connected to the microcontroller. Interrupting the power supply or losing the USB connection in this state may cause the device to become "soft bricked." Therefore:
- Do not disconnect the USB cable during the update,
- Do not close your browser or refresh the page,
- Disable other HID software (e.g., VIA, VIAL, QMK Configurator).,
- It is best to perform the update on a desktop computer, not on a laptop running on battery power..
Step 1: Launch Keychron Launcher
Open Chrome or any other browser built on the Chromium kernel.
Go to the Keychron Launcher website. Once the Keychron Launcher interface has fully loaded, click the Connect button to allow your browser to communicate with your keyboard via the WebHID interface.


Step 2: Select your device
After clicking the Connect button in the Launcher, the browser will display a pop-up window where you can select the device you want to update. In our case, it is the Keychron Q1 Max.
The pop-up window will display a list of all connected keyboards that support Launcher. Select the appropriate keyboard and confirm by clicking OK or Connect.
Step 3: Selecting the appropriate option
Once the keyboard is properly connected to Keychron Launcher, a full device control panel will appear in your browser. This panel allows you to:
- view information about the current keyboard model and firmware version,
- configure backlighting and RGB effects,
- remap keys and create macros,
- manage layers,
- and, most importantly, update the firmware.

Step 4: Firmware Update tab
In the Firmware Update tab, the Launcher displays detailed information about the current keyboard firmware:
- Current Firmware Version – the currently installed firmware version on your keyboard,
- Latest Firmware Version – the latest version available for download.
- With this information, you can easily check whether your keyboard is up to date or needs to be updated.
Step 5: How to start updates
To start uploading new firmware, we need to switch the keyboard to Bootloader mode. This mode allows the Launcher to communicate directly with the keyboard microcontroller and prepares the device for uploading the firmware file.
Steps to enter Bootloader mode:
- Disconnect the USB-C cable from the keyboard.
- Hold down the ESC key on the keyboard.
- Reconnect the USB-C cable while holding down ESC.
- the keyboard will not respond to keystrokes,
- the RGB backlight will turn off or start flashing uniformly (depending on the model),
- the system will recognize the device as ready for flashing.


Krok 7: Match Device
In Launcher, click the Match Device button. This step allows the application to communicate with the keyboard in Bootloader mode, which is necessary to start the firmware update.
After successfully entering Bootloader mode and clicking Match Device, the Launcher should detect a device named: STM32 BOOTLOADER or, in some models, DFU Device (depending on the microcontroller version).
The display of this name confirms that the keyboard is in programming mode and is ready to flash the new firmware.
Step 6: Uploading the software
Once the device has been correctly detected in Bootloader mode (e.g., STM32 BOOTLOADER), click the Flash Firmware button.
At this point, Launcher will start the firmware flashing process, i.e., writing the new software version directly to the keyboard microcontroller's memory.
During the update, you will see a progress bar or a message informing you about the status of the operation (e.g., Writing..., Verifying..., Flashing complete) on the Launcher screen.
The flashing process usually takes between 20 and 60 seconds, depending on the keyboard model and USB connection speed.

Step 8: Complete the update process
After the flashing process is complete, Keychron Launcher will display a message confirming that the firmware update was successful, e.g.:
- "Firmware updated successfully"
- "Flashing complete"
The current firmware version installed on the keyboard will also appear in the Firmware Update tab of the Launcher control panel. This allows you to verify that the new version has actually been uploaded.

